


Exploring the Vibrant riptide art techniques
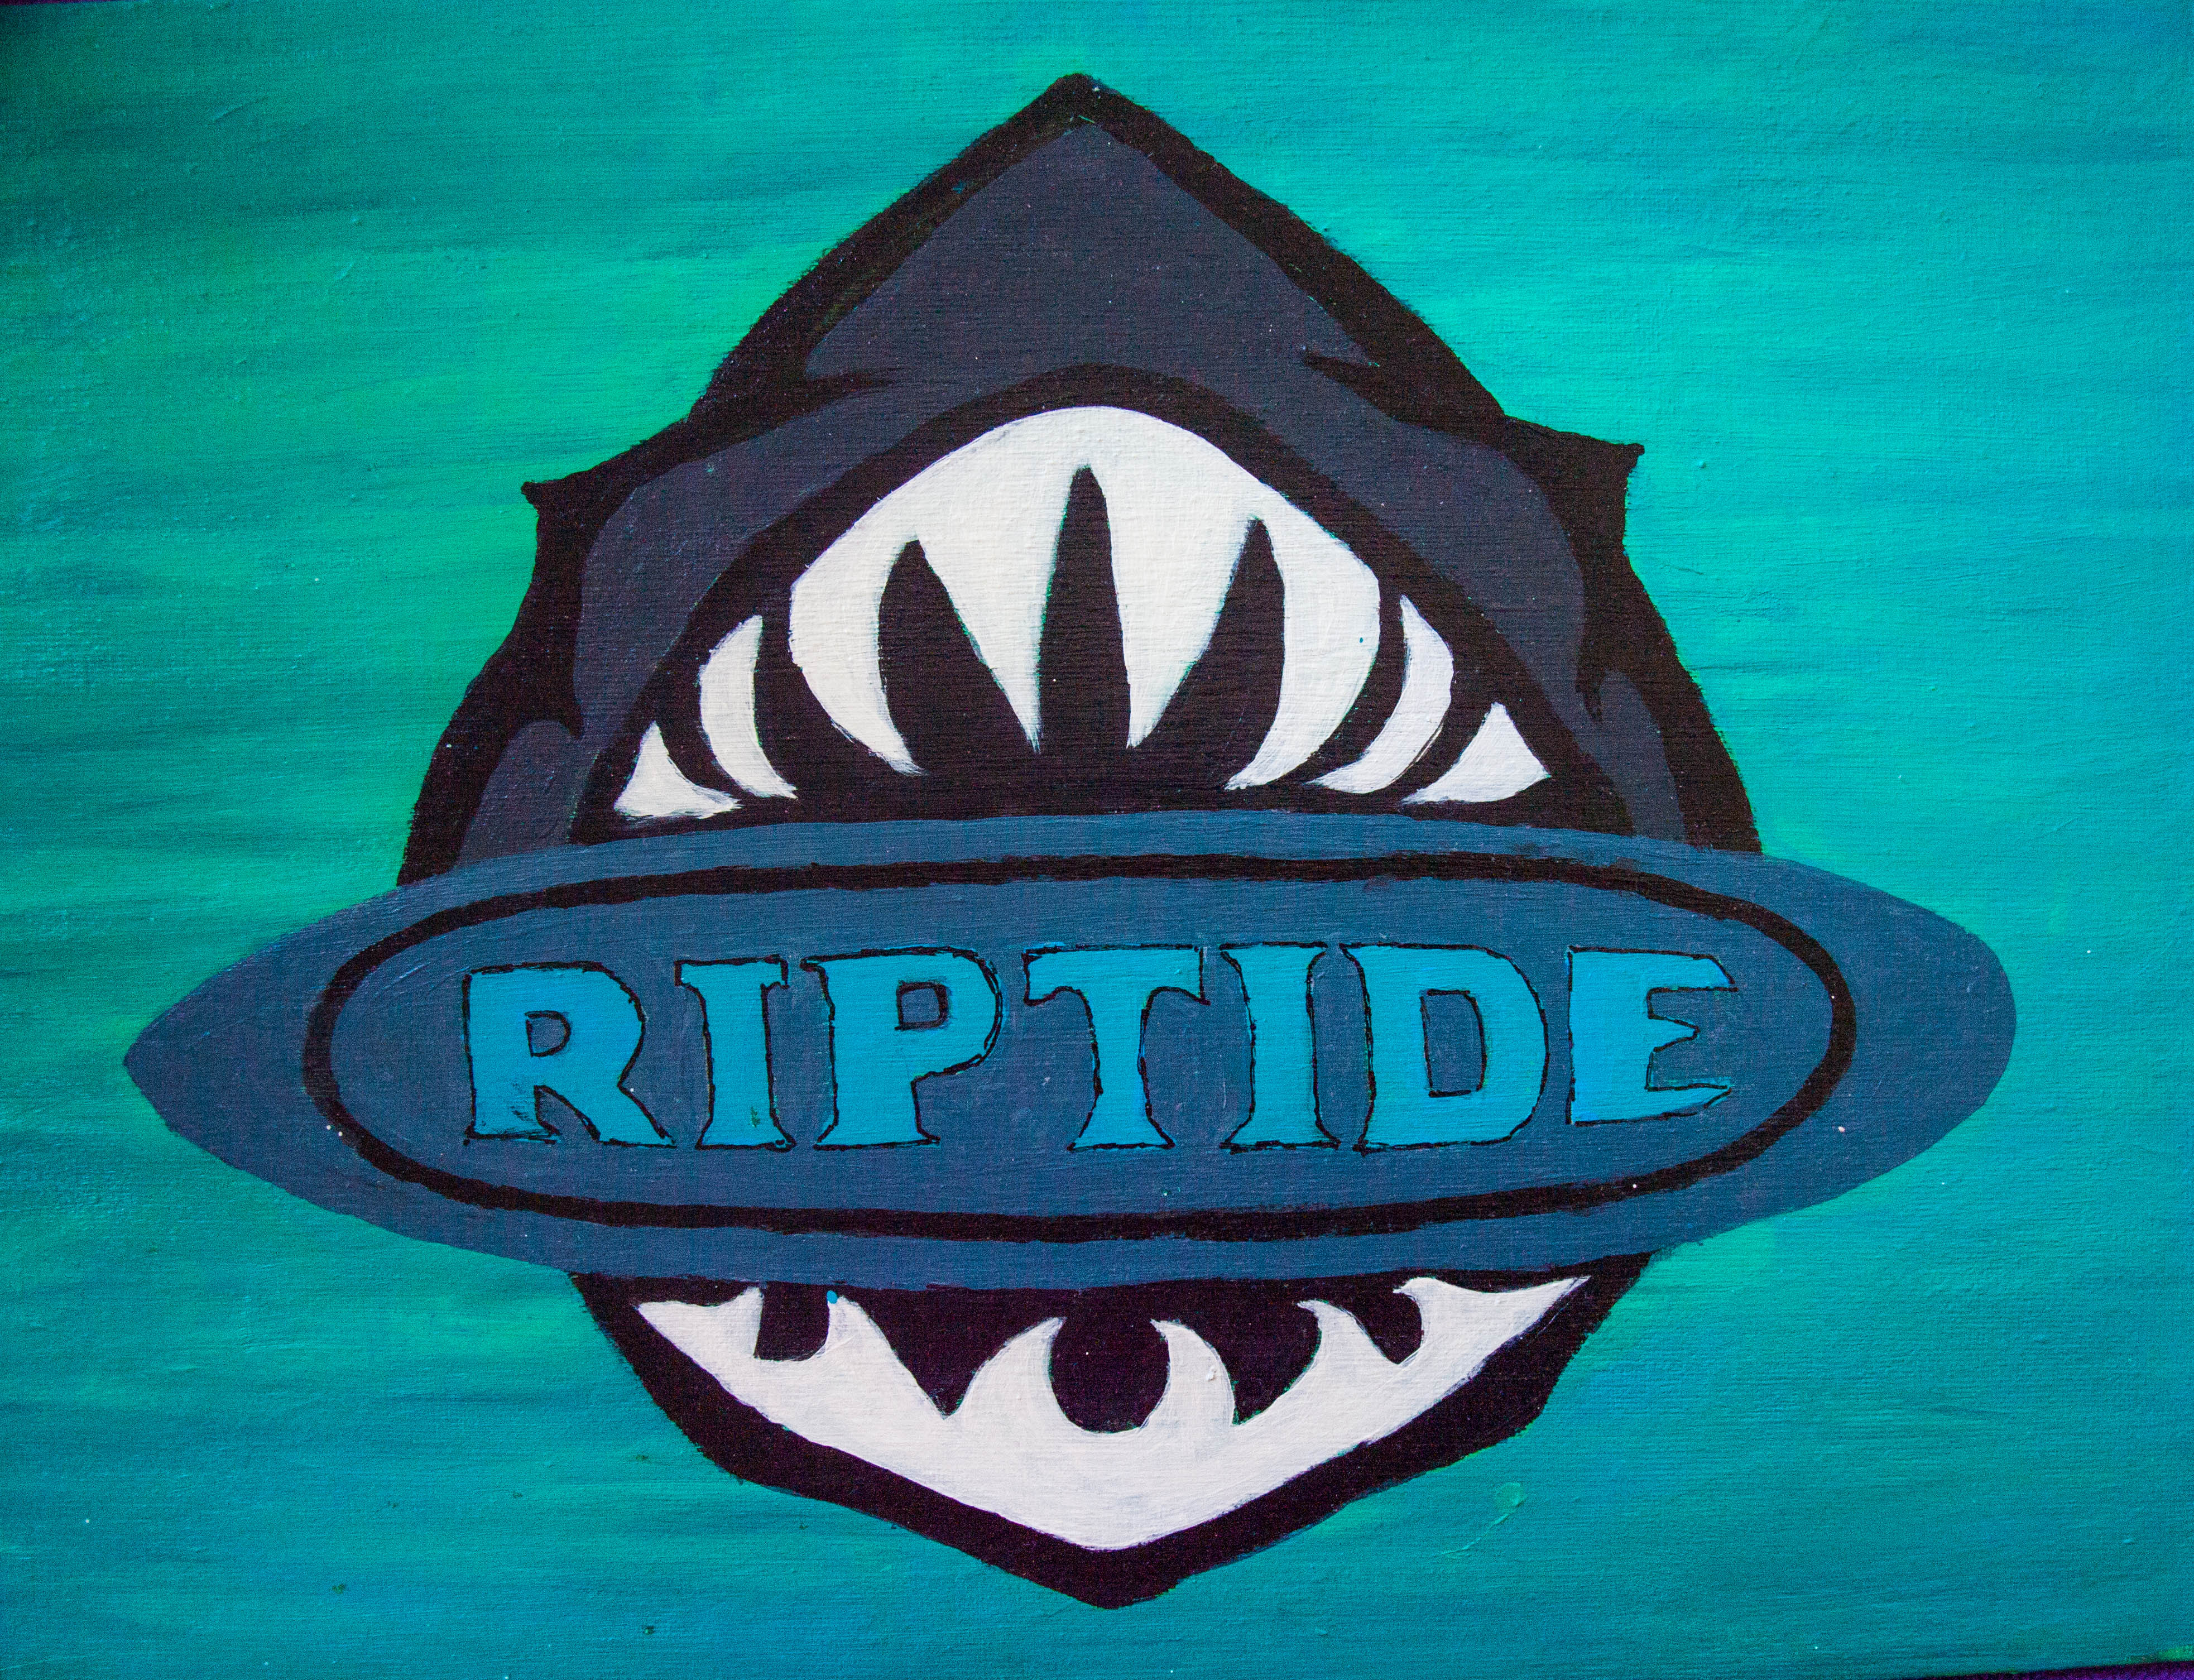
When I first stumbled upon the world of riptide art, I was instantly captivated by its dynamic energy and vivid colors. It’s like the ocean itself has been captured on canvas, swirling with life and movement. If you’ve ever felt the pull of the sea or the thrill of catching a wave, you’ll find something truly special in these techniques. So, let’s dive in together and explore the vibrant riptide art techniques that bring coastal life to vivid expression.
What Makes riptide art techniques So Unique?
Riptide art techniques are all about capturing the raw power and beauty of the ocean’s currents. Unlike traditional seascapes, this style emphasizes motion and emotion, using bold strokes and layered textures to mimic the ever-changing tides. The colors are often bright and saturated, reflecting the sunlit waves and deep blues of the sea.
One of the key features is the use of fluid, sweeping brushwork that creates a sense of flow. Artists often blend acrylics or oils with mediums that allow for smooth transitions and glossy finishes. This technique helps to replicate the shimmer of water and the turbulence of riptides.
Have you ever noticed how the ocean can look completely different from one moment to the next? That’s exactly what riptide art tries to capture - the fleeting, vibrant moments that make coastal life so mesmerizing.

Essential riptide art techniques to try at home
If you’re itching to try your hand at riptide art, here are some practical techniques that can help you get started:
Layering Colors - Start with a base of deep blues and greens. Gradually add lighter shades and whites to create the illusion of waves breaking and water reflecting light.
Wet-on-Wet Blending - Use this technique to blend colors directly on the canvas while the paint is still wet. It creates smooth gradients and mimics the fluidity of water.
Dry Brush Strokes - After your base layers dry, use a dry brush to add texture and highlights. This can simulate the frothy edges of waves or the roughness of sand.
Palette Knife Effects - Experiment with a palette knife to add sharp, textured lines that resemble the jagged edges of rocks or the sharp pull of a riptide.
Glazing - Apply thin, transparent layers of paint over dried sections to deepen colors and add a luminous quality to your work.
Remember, the key is to keep your strokes loose and expressive. Don’t worry about perfection - the ocean is wild and unpredictable, and your art should reflect that spirit.
Tools and materials that bring riptide art to life
Choosing the right tools can make a huge difference in your riptide art journey. Here’s what I recommend:
Acrylic or Oil Paints: Both work well, but acrylics dry faster and are easier for layering.
Mediums: Use glazing medium for acrylics or linseed oil for oils to enhance flow and transparency.
Brushes: A mix of flat, round, and fan brushes will give you versatility in creating different textures.
Palette Knives: Essential for adding bold, textured strokes.
Canvas or Heavy Paper: Choose a surface that can handle multiple layers of paint and medium.
Don’t forget to have a spray bottle handy to keep your acrylic paints moist while working. This little trick helps maintain that wet-on-wet blending effect longer.

How riptide art connects us to the ocean’s soul
What I love most about riptide art is how it goes beyond just painting a pretty picture. It’s a way to feel the ocean’s heartbeat, to connect with the energy of the tides and the rhythm of the waves. Each brushstroke tells a story of movement, change, and the endless dance between water and shore.
This style resonates deeply with those who live near the coast or have a passion for surfing and ocean life. It’s not just art - it’s an emotional experience. When you look at a riptide art piece, you can almost hear the crashing waves and smell the salty air.
If you want to bring that feeling into your own space, consider incorporating riptide art into your home or office. It’s a beautiful reminder of nature’s power and tranquility, perfect for anyone who finds peace by the sea.
Tips for collecting and appreciating riptide art
If you’re thinking about adding riptide art to your collection, here are some tips to keep in mind:
Look for Authenticity: Seek out artists who specialize in coastal themes and use the vibrant techniques we’ve discussed.
Consider Size and Placement: Larger pieces can become a stunning focal point, while smaller works add subtle coastal charm.
Understand the Medium: Acrylics tend to be more vibrant and durable, while oils offer rich textures and depth.
Engage with the Artist: Many riptide artists share stories behind their work, which can deepen your appreciation.
Preserve Your Art: Keep your pieces away from direct sunlight and humidity to maintain their colors and texture.
By choosing art that speaks to your love of the ocean, you’re not just decorating a space - you’re inviting the spirit of the sea into your life.
Exploring riptide art techniques has been a thrilling journey for me, and I hope it sparks your creativity and connection to the ocean as well. Whether you’re painting your own waves or admiring the work of talented artists, this vibrant style offers a fresh way to experience the beauty and power of coastal life. For more inspiration and to see stunning examples, check out riptideart and join a community that celebrates the magic of the sea through art.


Comments