Explore the World of Riptide Art Studio
- Riptide
- Mar 19
- 3 min read
Art has the power to transform spaces, evoke emotions, and tell stories. Among the many creative expressions, riptide art stands out for its dynamic energy and captivating visuals. This unique art form captures the essence of movement and fluidity, often inspired by the natural forces of water and waves. In this post, we will dive deep into the world of riptide art studio creations, exploring their origins, techniques, and how you can appreciate or even create your own riptide-inspired masterpieces.
Discovering the Riptide Art Studio Experience
Riptide art studio is a creative hub where artists channel the power of the ocean’s riptides into stunning visual pieces. These studios often blend traditional painting methods with modern techniques to produce artworks that feel alive and in motion. The studio environment encourages experimentation with colors, textures, and forms that mimic the unpredictable nature of water currents.
Artists working in riptide art studios typically use a variety of mediums such as acrylics, resin, and mixed media to achieve the fluid, swirling effects characteristic of this style. The process involves layering colors and manipulating the paint to create depth and movement, often resulting in abstract or semi-abstract compositions.

What Makes Riptide Art Unique?
Dynamic Movement: The art captures the energy of water in motion.
Vibrant Colors: Blues, greens, and whites dominate, reflecting the sea.
Textural Depth: Layers and textures add a three-dimensional feel.
Abstract Forms: Shapes often suggest waves, currents, or underwater scenes.
This combination makes riptide art not only visually appealing but also emotionally engaging, inviting viewers to feel the power and serenity of the ocean.
Techniques and Tools Used in Riptide Art Studio
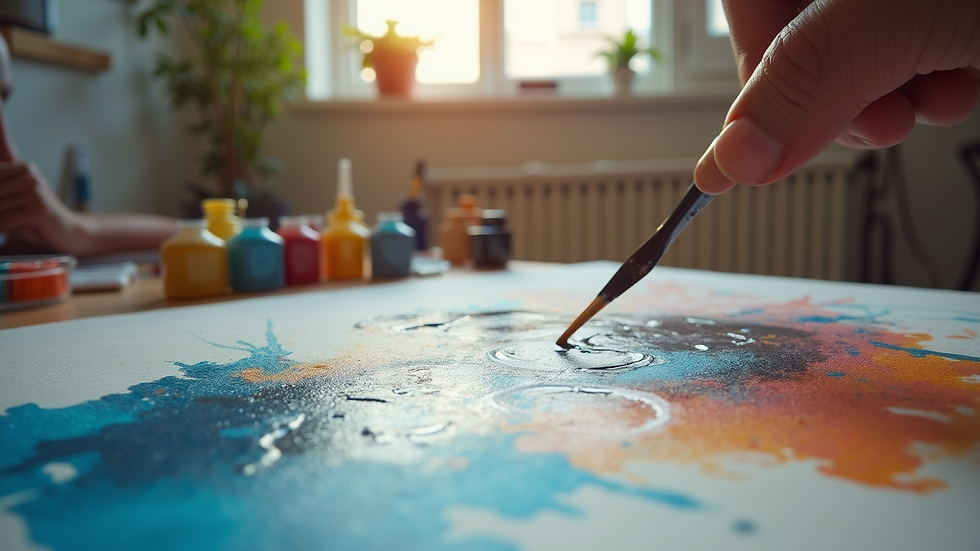
Creating riptide art requires both skill and creativity. Artists use several techniques to replicate the natural flow of water:
Pouring and Tilting: Pouring paint onto a canvas and tilting it to let the colors flow and blend naturally.
Resin Coating: Applying resin to give the artwork a glossy, water-like finish.
Brushwork and Palette Knives: Adding details and textures to enhance the sense of movement.
Layering: Building up multiple layers of paint to create depth and complexity.
Many artists also experiment with additives like silicone oil to create cells and bubbles that resemble water droplets or foam.
Recommended Materials for Beginners
Acrylic paints in ocean-inspired colors
Pouring medium to help paint flow smoothly
Canvas or wooden panels
Resin kits for finishing
Palette knives and brushes
By starting with these materials, beginners can explore the basics of riptide art and gradually develop their own style.
How to Appreciate and Display Riptide Art
Riptide art is versatile and can enhance various spaces, from homes to offices. To fully appreciate this art form, consider the following tips:
Lighting: Use natural or soft lighting to highlight the textures and colors.
Placement: Position artworks where they can be viewed up close to appreciate the details.
Framing: Choose simple frames that do not distract from the fluidity of the art.
Pairing: Combine riptide art with coastal or minimalist decor for a harmonious look.
Displaying riptide art in your space can create a calming atmosphere reminiscent of the ocean’s rhythm.
Creating Your Own Riptide Art Masterpiece
If you feel inspired to try riptide art yourself, here is a simple step-by-step guide to get started:
Prepare Your Workspace: Cover surfaces and gather all materials.
Mix Paints: Combine acrylic paints with pouring medium.
Pour Paint: Pour different colors onto the canvas in layers.
Tilt and Move: Tilt the canvas to let the paint flow and blend.
Add Details: Use brushes or palette knives to create wave-like textures.
Let Dry: Allow the paint to dry completely.
Apply Resin: Coat with resin for a glossy finish and enhanced depth.
Experimentation is key. Each piece will be unique, reflecting your personal interpretation of the riptide’s energy.
The Future of Riptide Art Studio Creations
As interest in fluid and abstract art grows, riptide art studios continue to innovate. New materials and digital techniques are being integrated to push the boundaries of this art form. Virtual galleries and online platforms also make it easier for artists to share their work with a global audience.
For those looking to explore or purchase riptide art, visiting a dedicated studio or browsing collections online can be a rewarding experience. One such platform, riptideart, offers a curated selection of artworks that capture the spirit of the ocean’s movement.
Exploring the world of riptide art studio creations opens up a vibrant and dynamic realm of artistic expression. Whether you are an art lover or a budding artist, this genre offers endless inspiration and opportunities to connect with the natural world through creativity.


Comments